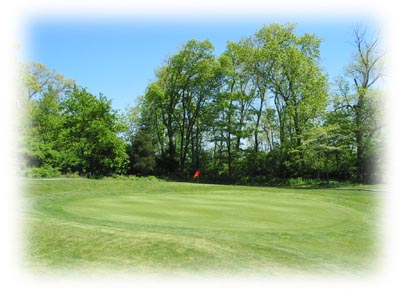
The 1st hole is a short uphill par four that requires a tee shot down the left side of the fairway that leads to a blind second shot to the green. The green runs from back to front providing little room for shots over the green. This green is reachable by skilled players offering a good chance for birdie.
| blue | 251 |
| white | 233 |
| red | 226 |
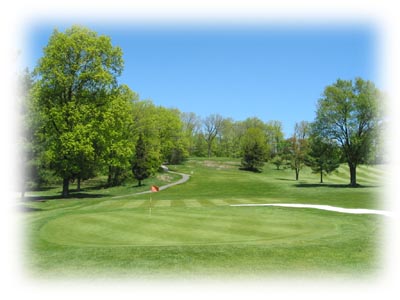
The 2nd hole is a tough downhill par three to a small green that is guarded by a large bunker to the left, a tree-lined collection area to the right and the clubhouse to the back. Miss the green left and you are left with a chip over the bunker to a green that runs away from you. Par is a good score on this hole.
| blue | 198 |
| white | 177 |
| red | 167 |
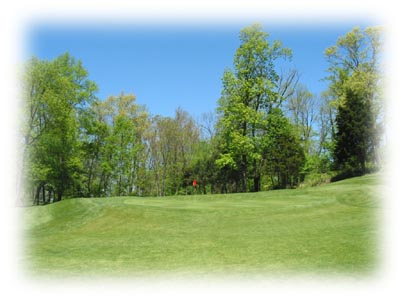
The 3rd hole is a straight uphill par four. A tee shot to the left side of the fairway is required to take the large tree to the right side of the fairway out of play. However beware of the tree line to the left. This leaves a blind second shot with a mid to short iron to a green that runs from back to front. Taking one extra club on your approach shot is key.
| blue | 338 |
| white | 325 |
| red | 258 |
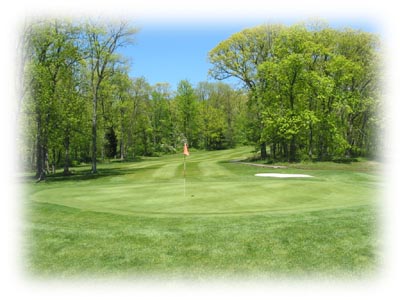
The 4th hole is a dogleg left that requires a precise tee shot from an elevated tee. The smart play is a long iron or utility wood to a landing area on the right side of the fairway. If you go too far left, your second shot may be obstructed by the tree line. The large, flat green is guarded by a bunker to the left and a collection area to the right. Aim for the center for a birdie opportunity.
| blue | 326 |
| white | 312 |
| red | 296 |
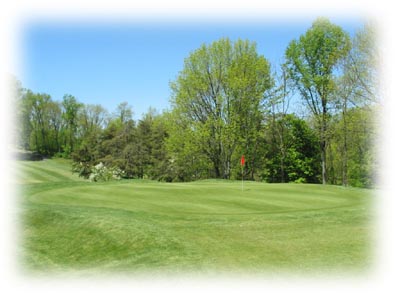
The 5th hole is a long par four that requires a tee shot down the left side of the fairway, which takes the tree to the right out of play. Going right on your tee shot makes par tough. A blind second shot with a long to mid iron is required to make par. The undulating, crowned green falls off severely on three sides. If you are to miss, miss left. Par is a good score here on this hole, the #1 handicap hole
| blue | 390 |
| white | 378 |
| red | 283 |
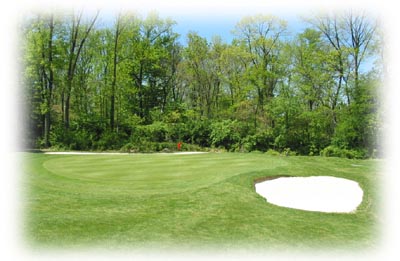
The 6th hole is an uphill dogleg right. To take the large tree on the right side of the fairway out of play, aim for the left side of the fairway. The blind second shot to the green is guarded by bunkers to the right and back. The green slopes left to right, so keep your second shot to the right side of the pin.
| blue | 359 |
| white | 305 |
| red | 259 |
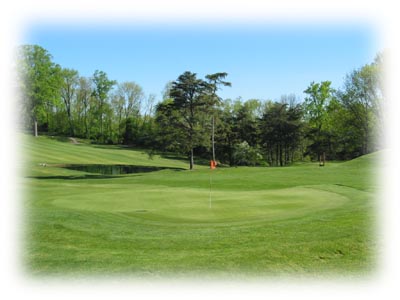
The 7th hole is a straight away “risk-reward” par four. From an elevated tee box skilled players can reach this triple tiered green with a great drive but beware of the two sand traps guarding the front of the green. Most players however will be left with a short iron to the green. Your second shot must be below the hole and on the same tier as the pin. Any shot above the hole makes this seemingly easy hole tough. A great chance for birdie.
| blue | 277 |
| white | 264 |
| red | 257 |
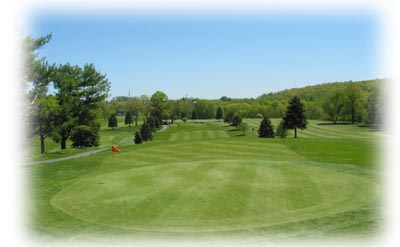
The 8th hole is a straight-away uphill par four that can be played two ways. Lay up short for a mid iron shot from a flat lie or go for distance, which will leave you a short iron from an uphill lie. In any event your second shot will be a blind one to a long, narrow green that runs back to front with little room in the back.
| blue | 315 |
| white | 307 |
| red | 300 |
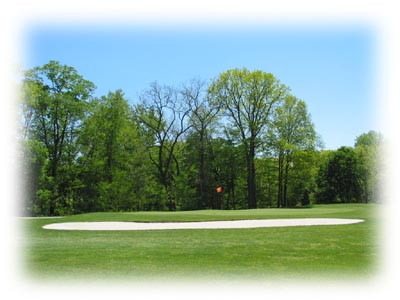
The 9th hole is a long par five that is reachable in two by only the longest hitters. Play your tee shot down the right center to the wide fairway, while avoiding the tree line to the right. The large flat green is guarded by bunkers on two sides. Don’t go long as there is little room behind the green. Played properly, this hole yields a great birdie opportunity.
| blue | 553 |
| white | 528 |
| red | 466 |
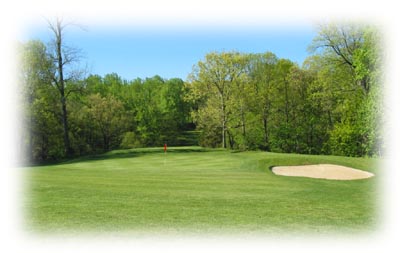
Depending on which tees one is playing, the 10th hole can be played two ways. From the blue tees, a tee shot across a ravine is necessary for a chance at birdie. From the white and red tees, a short iron from an elevated tee box is required. The green is guarded by a bunker to the right.
| blue | 155 |
| white | 126 |
| red | 113 |
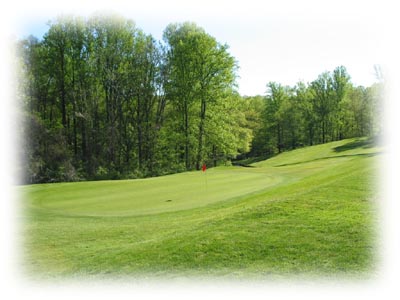
The 11th hole is a dogleg right that requires you to hit your tee shot from an elevated tee box across a road below to an uphill fairway. Depending on your length, a well placed long iron to a 3-wood to the left side of the fairway is the smart play. Your second shot is to a long flat green with a large hill to the left and a steep collection area to the right. Par is a good score.
| blue | 297 |
| white | 294 |
| red | 276 |
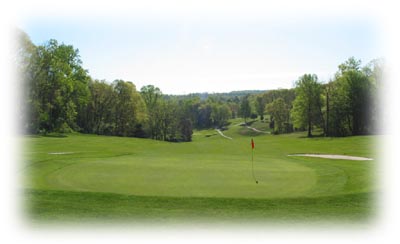
The 12th hole is a short uphill par five and your best chance at birdie. Play your tee shot from the elevated tee box to any place on the wide uphill fairway. Long hitters will have a short to mid iron left. The green is guarded by large bunkers in the front left and front right and by large grass mounds in the back. The green slopes severely from back to front. To have a chance at birdie or better, keep your ball below the hole.
| blue | 403 |
| white | 363 |
| red | 318 |
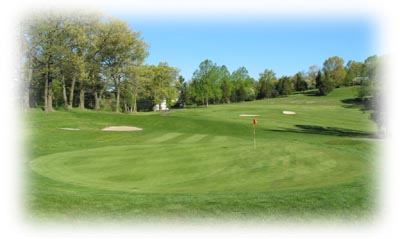
The 13th hole is a long par three that is lined by trees and a road to the right. The key to this hole is to not go right, as the large green is guarded by elevated bunkers to the right. A misplaced shot to the right will leave you a recovery shot that runs away from you. Large grass mounds guard the left. Aim for the center for a chance at birdie.
| blue | 191 |
| white | 176 |
| red | 165 |
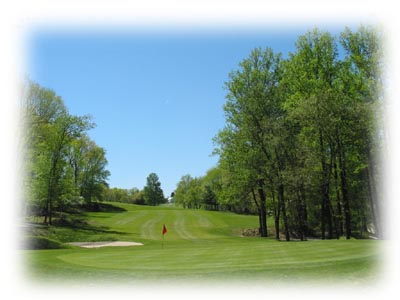
Signature Hole
The Manor Golf Club’s signature hole is a three shot par five. To take the tree line in front of you out of play, hit your drive down the left side of the fairway from the elevated tee box. This allows for an easy second shot to a wide landing area guarded by tree lines on both sides of the fairway. This leaves a short to mid iron approach to a flat green that is guarded by a bunker to the right. Any place but the green is trouble. Par is a good score on this hole.
| blue | 542 |
| white | 525 |
| red | 475 |
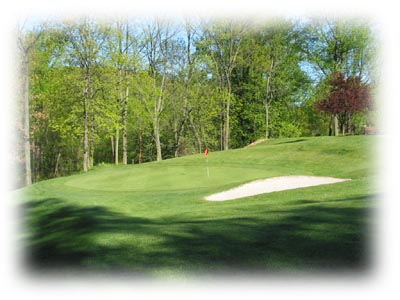
The shortest hole on the course, this par three 15th is a tester. Played from the right tees, a precisely struck short iron to the narrow green is required to make birdie. Beware of the bunker in the front and the hill to the left guarding the green. Played from the left tees requires a precise short iron across the road to the green that is fronted by the steep hill and a bunker to the right. A well placed tee shot can yield a birdie.
| blue | 90 |
| white | 75 |
| red | 75 |
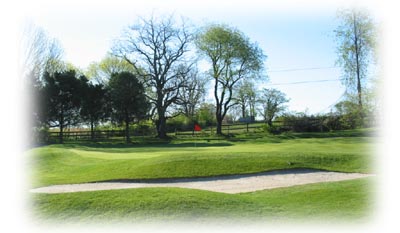
The 16th hole is a straight away par four that can be reached by skilled players on their tee shot. Beware of the large tree in the center of the fairway. To capitalize on this short par four, keep your tee shot to the right. The undulating green is guarded by a bunker to the left and grass mounds on every side with little room in the back.
| blue | 283 |
| white | 274 |
| red | 274 |
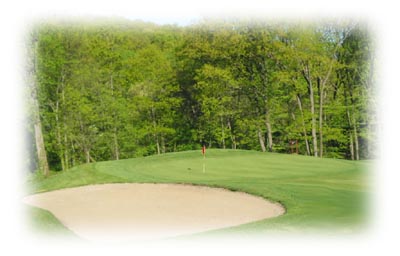
The 17th hole is another straight away par four. Place your tee shot down the right center of the fairway which will take the fairway bunker to the left out of play. This provides the best angle to the crowned green. Smart players aim their second shot for the center of this flat green, as the green is surrounded by steep hills on three sides. Missing the green here can create a big number.
| blue | 329 |
| white | 318 |
| red | 318 |
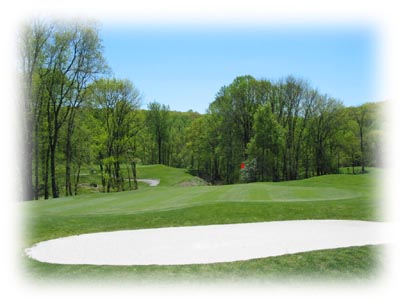
The finishing hole is an uphill par three over a tree lined ravine that requires an extra club. The green is surrounded by bunkers to the left and back. The 18th green slopes severely from back to front. A tee shot below and to right of the hole is required for your best chance at birdie. Par is a good score on this tough finishing hole. Time to head to the 19th hole inside the clubhouse straight ahead to celebrate the round!
| blue | 160 |
| white | 140 |
| red | 115 |
